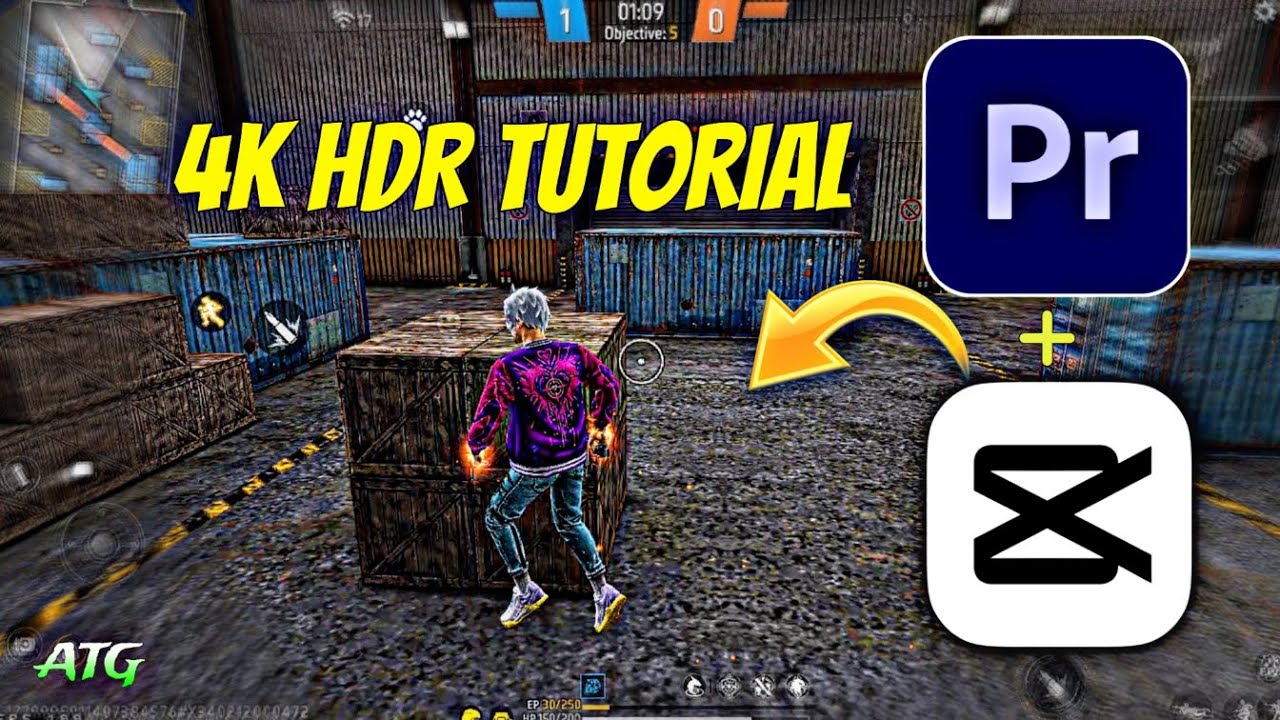
If you’re a Free Fire enthusiast, you’re likely not just focused on winning—but also on sharing your best gameplay moments. One of the most powerful ways to make your content pop is with HDR (High Dynamic Range) sharpening. Free Fire HDR Sharpen Video Editing Tutorial.
This technique enhances video quality, giving it a professional, cinematic edge. In this guide, we’ll show you how to sharpen your Free Fire videos using HDR editing tools—from beginner steps to pro tips.
What is HDR Video Editing?
HDR editing boosts a video’s contrast, clarity, and color depth. It makes bright scenes brighter and dark ones richer, giving your footage a more lifelike and detailed look.
For Free Fire content, this means:
- Highlighting action-packed moments
- Adding depth and sharpness
- Creating visually striking videos that stand out on social media
Why Use HDR Sharpening in Free Fire Videos?
- Crisper Visuals: Sharpening enhances clarity, crucial for fast-paced scenes.
- Focus on Key Moments: Kills and strategies pop out more.
- Cinematic Aesthetic: Rich contrast and polished visuals elevate your content.
- Vibrant Colors: HDR makes Free Fire’s characters and environments look stunning.
- Boosted Engagement: Eye-catching videos perform better on YouTube, TikTok, and Instagram.
Tools for HDR Sharpening
Here are some top tools—ranging from beginner-friendly to pro-grade:
Desktop Software:
- Adobe Premiere Pro – Industry-standard with advanced HDR features (Lumetri Color).
- DaVinci Resolve – Excellent for color grading and sharpness control.
- Final Cut Pro X – Ideal for Mac users, includes native HDR support.
- Filmora – Great for beginners, simple HDR effects included.
Mobile Apps:
- Kinemaster – Versatile editing features with HDR and sharpen tools.
- InShot – Easy-to-use, great for quick mobile edits with brightness and sharpness control.
How to Apply HDR Sharpening (Step-by-Step)
Step 1: Import Footage
Start by recording in at least 1080p (4K preferred). Import your footage into your chosen editor.
Step 2: Adjust Brightness & Contrast
- Increase brightness for vivid scenes.
- Boost contrast to enhance details in light and shadow.
Step 3: Apply HDR Effects
- Use built-in HDR filters or manually adjust exposure, highlights, and gamma.
- Avoid over-editing—keep details in both highlights and shadows.
Step 4: Add Sharpness
- Use tools like Sharpen (Premiere Pro) or Midtone Detail (DaVinci).
- Focus on key moments like kills or close encounters to draw attention.
Step 5: Fine-Tune Colors
- Boost saturation and vibrancy without overdoing it.
- Match the game’s tone and character designs for a cohesive look.
Step 6: Export the Final Video
- Use H.264 codec for web platforms.
- Export in 1080p or 4K, 30fps or 60fps depending on your original footage.
Step 7: Upload & Optimize
Share your video with strong titles, engaging thumbnails, and relevant tags. Don’t forget subtitles or captions for better reach.
Pro Tips for Next-Level Editing
- Use Keyframes: Animate brightness and sharpness in specific scenes.
- Sound Matters: Add music, voiceovers, and effects for an immersive vibe.
- Slow Motion: Emphasize intense gameplay with well-timed slow-motion.
- Stay Consistent: Develop a unique editing style—transitions, fonts, and colors all matter.
Final Thoughts
Adding HDR sharpening to your Free Fire gameplay can transform basic recordings into professional-quality content. Whether you’re a beginner or an experienced creator, mastering this technique will set your videos apart and draw more attention online.
So get creative, experiment with edits, and show off your Free Fire skills in high definition. Happy editing!